How does AWS CloudFront help in Magento Speed Optimization?

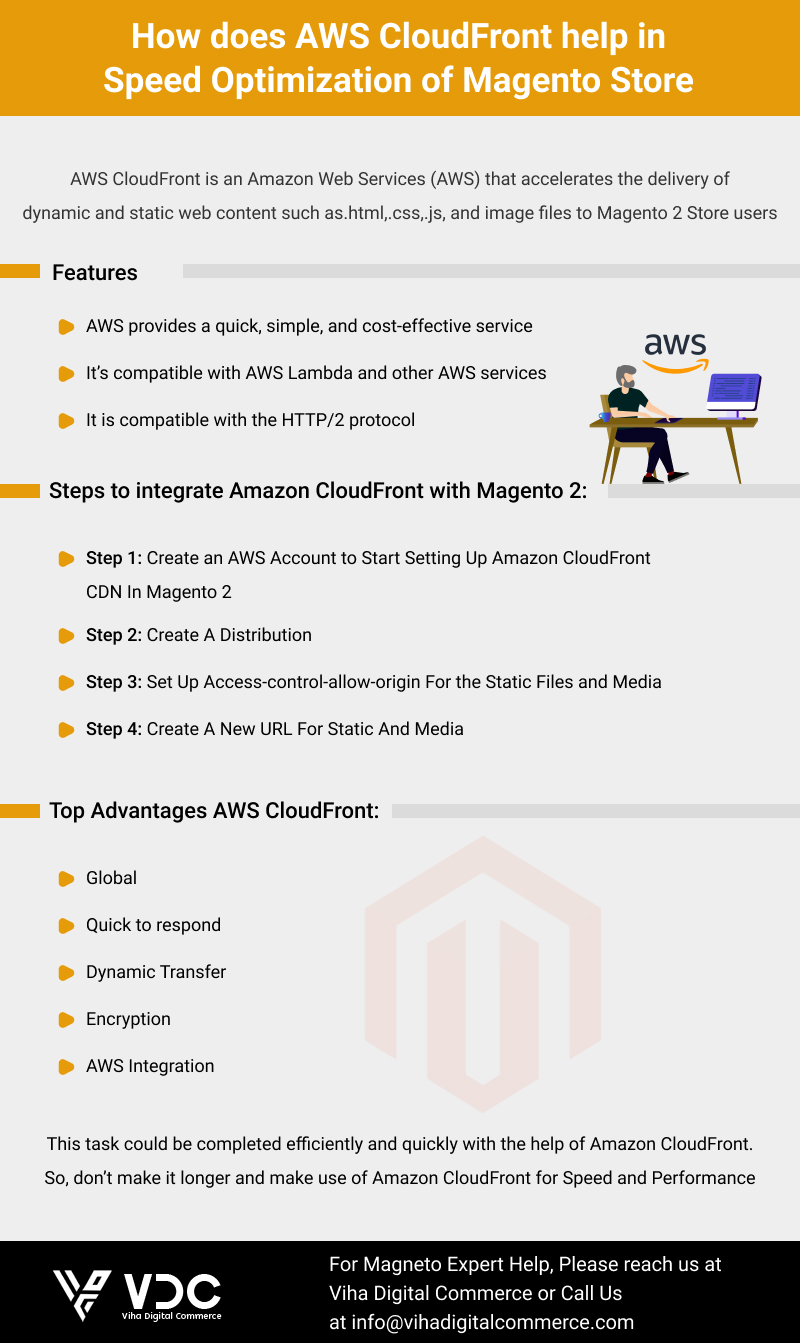
AWS CloudFront is an Amazon Web Services AWS that accelerates the delivery of dynamic and static web content such as.html,.css,.js, and image files to Magento 2 Store users. CloudFront makes use of edge locations to deliver content to the users with lower latency (time delay). As content is delivered with the best possible performance by utilizing AWS Cloud front, this may help you with the Speed Optimization of your Magento store. CloudFront responds to the user request for content immediately, if your content is already cached in the edge location.
Features
- AWS provides a quick, simple, and cost-effective service.
- It’s compatible with AWS Lambda and other AWS services.
- It is compatible with the HTTP/2 protocol.
HOW AWS CloudFront CDN WORKS?
AWS CloudFront offers edge locations around the world where data is cached. When a client sends a request to the server, the CloudFront environment goes through the following processes.

- The request is routed to the nearest edge location, a CDN server. If the cached data is found, it will immediately transfer the content to the client.
- If there is no cached data, the request is routed to the server, which sends the content.
- Rather than going directly to the client, the content is routed to the edge location.
- It is cached and then transferred to the client’s system.
In this way, the AWS cloud front aids you in developing the Fast Magento Store. Diverse Magento merchants consider this procedure to be lengthy and time-consuming. But it is far faster than a direct transfer of requests between client and server. When your user base is restricted to a specific location, then utilizing the AWS cloud will be extremely helpful for your Magento 2 store.
Steps to integrate Amazon CloudFront with Magento 2:
Step 1: Create an AWS Account to Start Setting Up Amazon CloudFront CDN In Magento 2
Please activate your account and enter your credit card information in the payment section after successfully signing up for an account at https://aws.amazon.com/. Then, expand the Service menu and select CloudFront. If you don’t see CloudFront, try searching for it in the search bar.

After that, click on the Create Distribution button.

Step 2: Create A Distribution
Choose the most appropriate delivery method (Web or RTMP) for your Magento2 Store. Then, press the Get Started button. In this case, we have chosen the Web as the delivery method.

Perform the following actions in the Origin Settings tab:
- Origin Domain Name: Enter the name of your domain website.
- Static Path: Enter the static path. Two relevant Distributions for Static and Media folders must be created on your Magento website. As an example: /pub/static
- Origin Protocol Policy: Based on your web settings, select the origin protocol policy. If your Magento website is secured with SSL, please use HTTPS only. If you want both HTTP and HTTPS to work with Distribution, please use Match Viewer instead.

Select the following sections from the Default Cache Behaviour Settings tab:
- Viewer Protocol Policy: Choose the policy that viewers will use to access your content. It is recommended by the Magento Experts to use the Viewer Protocol Policy relevant to the Origin Protocol Policy.
- HTTP Methods Allowed: Choose appropriate methods. The last option, GET, HEAD, OPTIONS, PUT, POST, PATCH, DELETE, appears to be the most compatible with your Magento 2 Store.

In the Distribution Settings tab, take the following actions:
In the Alternate Domain Names (CNAMEs) field: Enter the subdomain which you want to use to replace the domain name. If you choose this option, you need to access the configuration of the domain then insert the subdomain pointing to (*.cloudfront.net).
To add an alternate domain name to a CloudFront distribution, you need to attach a trusted certificate that validates your authorization to use the domain name.

Finally, select the Create Distribution option.
You must now wait 15 to 40 minutes for the CloudFront service to complete the deployment. Then you’ll see the following screen:x

Click on the relevant ID link to check the detail of the distribution created.


If there is no difference between the file content and the original file, you have successfully configured Amazon CloudFront CDN.
- If you want to make the domain http://d5472poob0l2.cloudfront.net a subdomain of your Magento 2 website, go to the domain configuration and create a CNAME of the subdomain pointing to the above domain.
Step 3: Set Up Access-control-allow-origin For the Static Files and Media
pub/static
The path to change the configuration of pub/static is pub/static/.htaccess
The origin file
<IfModule mod_headers.c> <FilesMatch .*\.(ico|jpg|jpeg|png|gif|svg|js|css|swf|eot|ttf|otf|woff|woff2)$>
Header append Cache-Control public
</FilesMatch>
Header append Cache-Control no-store
</FilesMatch>
</IfModule>
Please change to
<IfModule mod_headers.c><FilesMatch .*\.(ico|jpg|jpeg|png|gif|svg|js|css|swf|eot|ttf|otf|woff|woff2|html|json)$>
Header set Cache-Control “max-age=604800, public”
Header set Access-Control-Allow-Origin “*”
Header set Access-Control-Allow-Methods “GET, OPTIONS”
Header set Access-Control-Max-Age “604800”
Header set Access-Control-Allow-Headers “Host, Content-Type, Origin, Accept”
</FilesMatch>
<FilesMatch .*\.(zip|gz|gzip|bz2|csv|xml)$>
Header append Cache-Control no-store
</FilesMatch>
</IfModule>
Please note that the HTML and JSON extensions will be changed by the extension of the file. Hence, you need to review the configuration Catalog Store, which may relate to security issues, to ensure that the HTML extension works.
pub/media
Please use the path pub/media/.htaccess to change the header of media files.
The original file is as follow:
<IfModule mod_headers.c> <FilesMatch .*\.(ico|jpg|jpeg|png|gif|svg|js|css|swf|eot|ttf|otf|woff|woff2)$>
Header append Cache-Control public
</FilesMatch>
<FilesMatch .*\.(zip|gz|gzip|bz2|csv|xml)$>
Header append Cache-Control no-store
</FilesMatch>
</IfModule>
Please change the content of <IfModule mod_headers.c> into:
<FilesMatch .*\.(ico|jpg|jpeg|png|gif|svg|js|css|swf|eot|ttf|otf|woff|woff2)$> Header append Cache-Control max-age=604800
Header set Access-Control-Allow-Origin “*”
</FilesMatch>
After modifying the configurations of pub/static and pub/media, your Magento 2 website is ready for the new distribution of static files and media from Amazon CloudFront.
Step 4: Create A New URL For Static And Media
Please go to Configuration > Web > Base URLs and Base URLs (Secure). Enter the created domain into the Base URL for Static View Files and the Base URL for User Media Files.
You are almost done with the process of configuring AWS CloudFront CDN for Magento 2 if you followed the instructions above. Remember to save all configuration files and clear the cache. To view the outcome, return to the homepage. All statistical files and media have been replaced with the new domain thanks to Amazon CloudFront. The loading page improves immediately after installing Amazon CloudFront in Magento 2.
Top Advantages AWS CloudFront
This section covers the advantages AWS CloudFront offers as a Content Delivery Network:
1. Global:
There are 216 edge locations worldwide. Hence if you are planning to build a global Magento2 Store, then AWS CloudFront is the best option for you.
2. Quick to respond:
AWS CloudFront is built around a high data transfer rate. Your Magento will be loaded in a flash, with no latency. This will also help you in developing the Fast Magento Store.
3. Dynamic Transfer:
When a byte is loaded into the cache, it immediately transfers to the client, allowing Live Streaming to begin. You can choose between static and dynamic content delivery with AWS CloudFront.
4. Encryption:
AWS CloudFront creates a highly secure application for you at no additional charge. AWS CloudFront inherits the AWS Shield Standard built-in features. The AWS Web Application Firewall is a 7-layer protection system that is built into all CloudFront edge locations around the world.5. AWS CloudFront can be configured to improve responsiveness. At times, data processing in the server is required. This task is easy to accomplish at the edge location.
5. AWS Integration:
You can integrate all Amazon services with the AWS CloudFront application. All of them can be accessed from the same console and accelerated by using AWS CloudFront features.
Conclusions
Improving the speed and performance of your website means improving customer experiences and, as a result, significantly increasing sales. This task could be completed efficiently and quickly with the help of Amazon CloudFront. So, don’t make it longer and make use of Amazon CloudFront for Speed Optimization of your Magento Store.


